using VIsual supports
Visual supports are a method for helping autistic people understand concepts, communicate needs, and better navigate their world. A lot of autistic people (though certainly not all) are visual thinkers, and visual supports uses that strength to its advantage. Visual supports can come in a lot of forms. In this article we're going to cover visual schedules, visual timers, and visuals used for communication. But first, we're going to cover the three keys to using visuals.
THe keys for using visual supports
1. Teach the person how to use them.
Once I was volunteering in a classroom once and I saw they had a lovely visual of the day's schedule up on the wall. It was great, and even used pictures of the children in the classroom completing each step - playing outside, washing their hands, eating lunch, and more. There's only one problem. The children were never taught how to use it. It was simply put there and the children were expected to know how to use it on their own. What did they children do? Of course they didn't use it, they just tugged me over there to point to the pictures of their faces, which they thought were cool.
In short, you can't just plaster a visual on the wall and expect the person to know how to use it - otherwise, it'll just end up as more decoration than support. Instead, teaching the child how to use it is essential. Show them how the schedule is supposed to work. And then move on to the next step...
2. Use the visual.
What this means is you can't just teach the person once how to use it and expect them to know how. Instead, you should embed opportunities for practicing use of the visual. In the case of the classroom, for example, the teacher could have referred back to the visual, led the children through what they'd done so far and asked them what came next - and then taught them, if they still didn't understand.
3. Fade the support.
Ideally, you're not going to need to teach the person how to use the visual and guide them through it every time. So once they get the hang of it, you can fade the support as needed. To use our teacher for an example, instead of leading the children through the schedule, once they understood it she could simply refer them to the schedule and have them go through it themselves. Obviously you shouldn't fade support that's still needed, of course, but if you see that the person doesn't need as much support any more, you can fade some of it to help them gain independence in using the visual.
These steps adapted from:
Otrosky, M. M. & Sandall, S. R. (Eds.) (2013). Addressing Young Children's Challenging Behaviors (Young Exceptional Children Monograph Series No. 15). Los Angeles, CA: The Division for Early Childhood of the Council for Exceptional Children.
Visual schedules
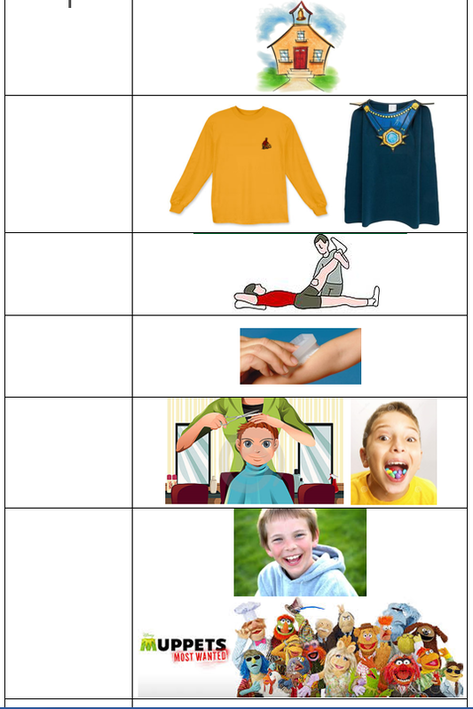
Visual schedules are a way of lending predictability to an otherwise unpredictable world. They can smooth transitions, and allow the person on the spectrum to prepare themselves for what's upcoming. The example schedule on the left, for instance, is one I made to help a child on the spectrum prepare himself for a haircut, something that was incredibly stressful and frightening for him.
First I showed him that I was going to pick him up from school and we were going to change clothes (he hates the hairdresser's cape, so the long sleeve shirt and superhero cape were my best substitutes). Then we were going to therapy. After that we were going to do some sensory brushing and go get a haircut. I included the picture of a child with candy in his mouth next to the haircut to remind him that every time he let the hairdresser do a snip, he got a skittle. And after that I included a treat, going to see the movie Muppets Most Wanted (which he had been begging to see). That way he knew that as soon as he got the difficult task of the haircut over with, he'd be able to go do something fun. I included blanks on the side so that he could check off each step as we completed it, something he enjoyed and helped him see where we were in the schedule.
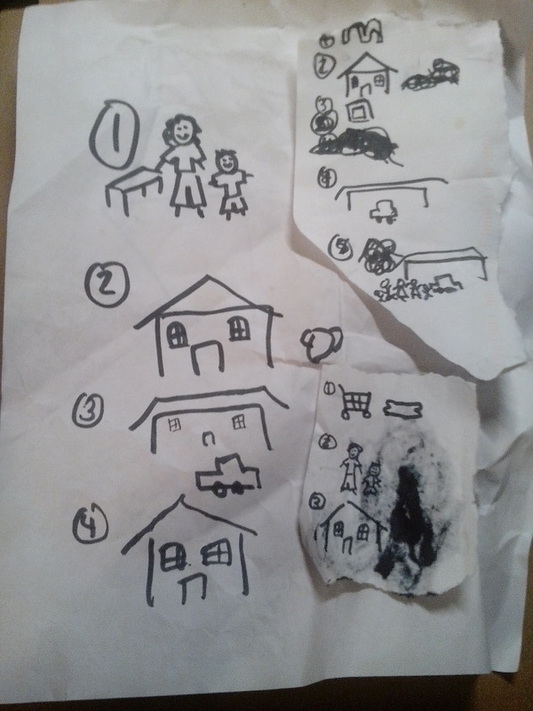
The schedules on the right are ones I made in the moment. They're messy and you probably can't tell what they mean. But that's okay because the only person that needed to understand them was the child I was working with. And he did understand them! They really helped him understand what was coming next. For some children the line drawings might be too abstract, but they were all he needed. Visual schedules don't have to be pretty - they just have to work.
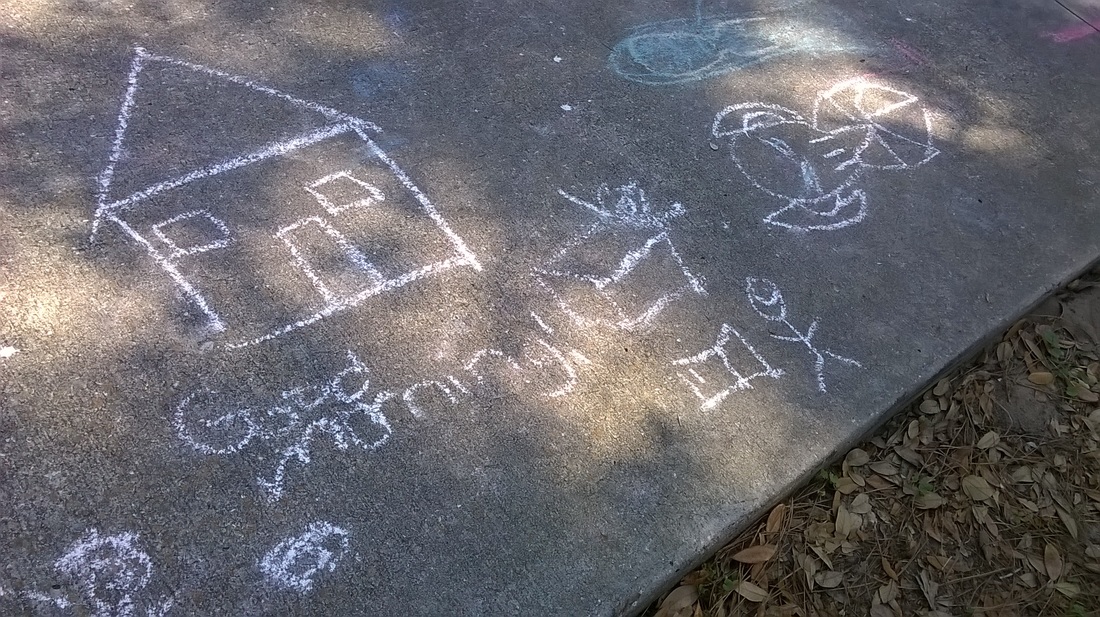
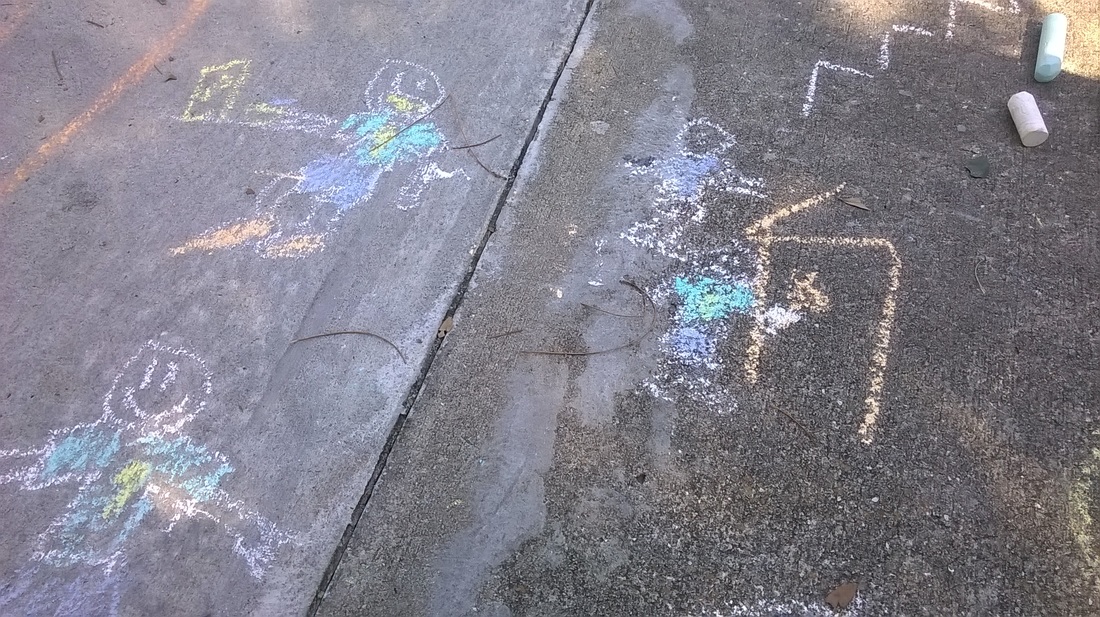
These pictures are an example of just how effective the visual schedules were with the child I was working with. He was upset when I told him a movie he wanted to see wasn't out yet. So, to help himself regulate his emotions, he had me draw out a visual schedule in sidewalk chalk of what his day would look like when he did actually get to go to the movie. It helped him calm himself to see that it really would happen at some point.
Visual Timers
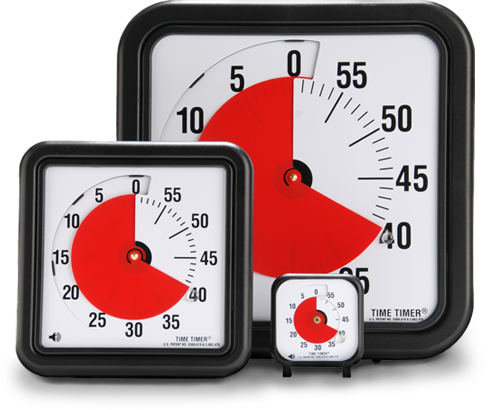
Visual timers are a great way of keeping track of how much time has already passed in an activity and how much time is remaining. These are good for both disliked and liked activities.
With a disliked activity, such as doing homework, a timer is a nice way of seeing that the activity does have an end. If someone asked you to do something you didn't like, and you had no idea of how long you'd have to do it for, that would be stressful, right? It's the same for people on the spectrum. Visual timers are a great way to see that yes, progress has been made towards the end of the disliked activity, and that there is a finite time remaining.
With a liked activity, a visual timer can also be helpful. It can be hard for kids on the spectrum (and off, for that matter) to transition away from doing something they really enjoy. Taking an iPad away, for example, may lead to tantrums or meltdowns. Having a visual timer helps the person on the spectrum to know approximately how long they have left in the activity and to prepare for the ending of the activity.
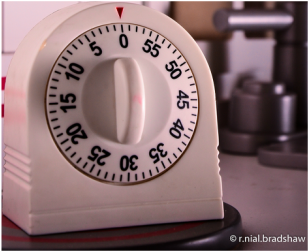
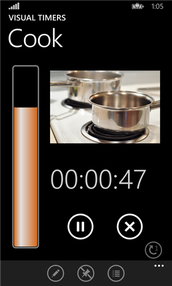
As you can see, visual timers come in many forms. Just like with the visual schedules, the form you use simply depends on what works, not how it looks. One person may need the red markings to more clearly see how much time they have left. Another may do just fine with a basic kitchen timer.
Different timers work best in different places, too. Each of these types of timers has pros and cons for that use. A sand timer, for instance, is quite portable, unobtrusive, and won't get hurt by water. However, it has to be kept upright, and the quantity of time it measures isn't flexible. A phone app is even more portable and is extremely flexible. For example, in the app that I used the picture from, you can change the time, the name of the activity, and the picture associated with it. On the down side, though, phones aren't allowed everywhere (namely, school). It's up to you to find the timer that works best for your situation.
Visuals for communication
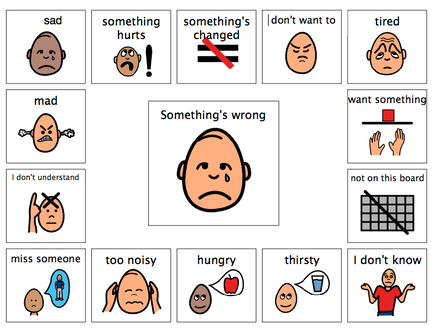
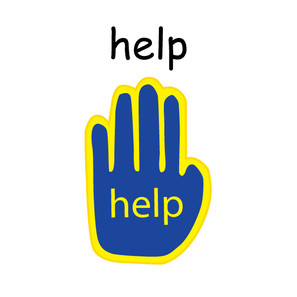
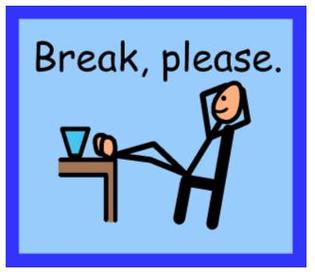
Here I'm not talking about communication systems like PECS (Picture Exchange Communication System), though that is an evidence based communication method. I'm just focusing on using simple visuals to help a person communicate an immediate need using visuals instead of behaviors. For example, instead of a tantrum or a meltdown, a person on the spectrum can simply use a break card to take a break and calm down. Or they can use the 'something's wrong' board to show you what's bothering them so that you can help them fix it. And a help card is a great way of getting assistance with a potentially frustrating situation. You get the idea. Using visuals to communicate key concepts can really help reduce frustration.
